Implementing Basic Cleanse in Data Services
- The Data Cleanse transform is used to perform parsing, standardizing, and enhancement of customer and operational data.
- Parsing identifies individual data elements and breaks them down into their component parts. It rearranges data elements in a single field or moves multiple data elements from a single data field to multiple discrete fields. Data Cleanse parses name, title, firm, phone, US social security number, date, e-mail, and user-defined patterns.
- Standardization includes business rules around formats, abbreviations, acronyms, punctuation, greetings, casing, order, and pattern matching – all examples of elements you can control to meet your business requirements and prepare the data for validation, correction, and accurate record matching.
- We need to create two data stores, one data store is created to MSSQL and another is created to HANA .
Steps
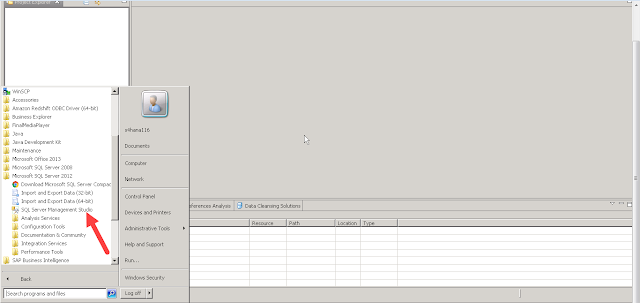
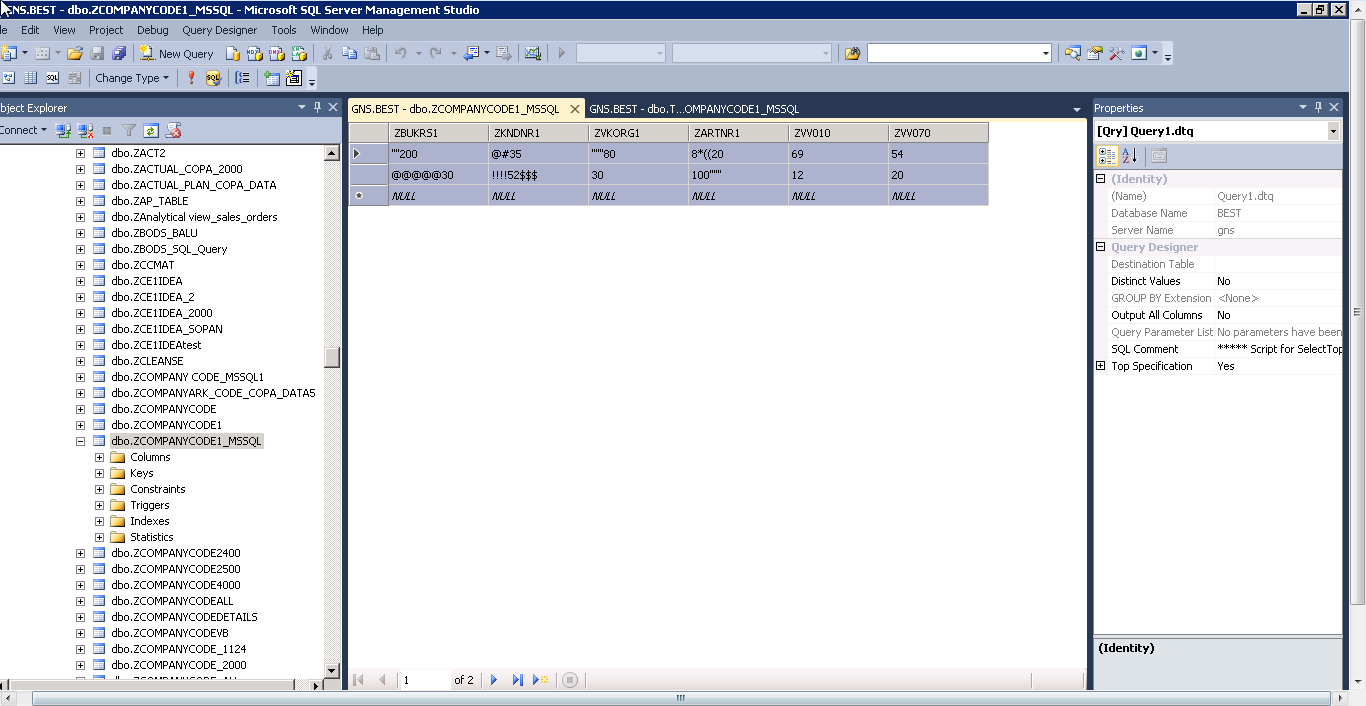
- Start -> Microsoft SQL server 2012 -> SQL server management studio.
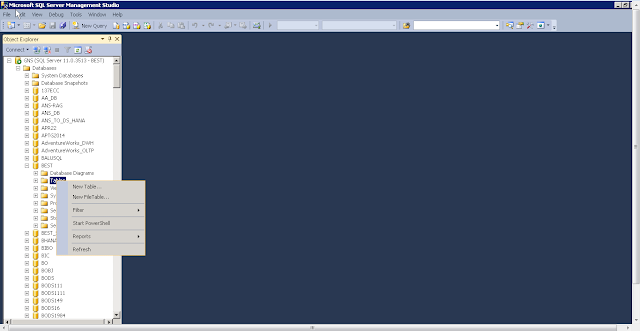
- Right click on tables -> Click on new table.
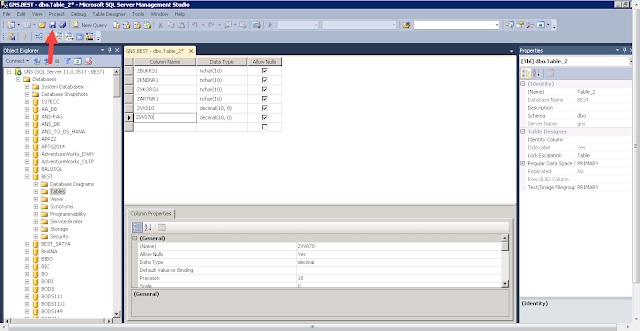
- Now, we create a table with column names ZBUKRS1, ZKNDNR1, ZVKORG1, ZARTNR1, ZVV010 and ZVV070.

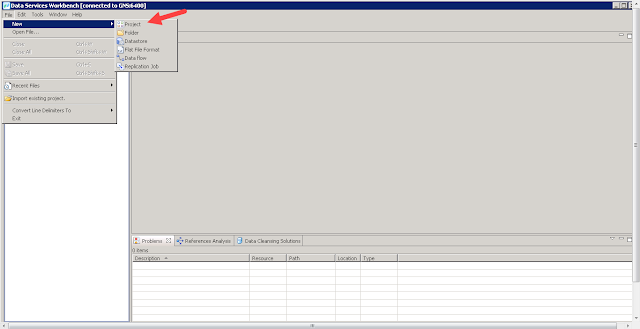
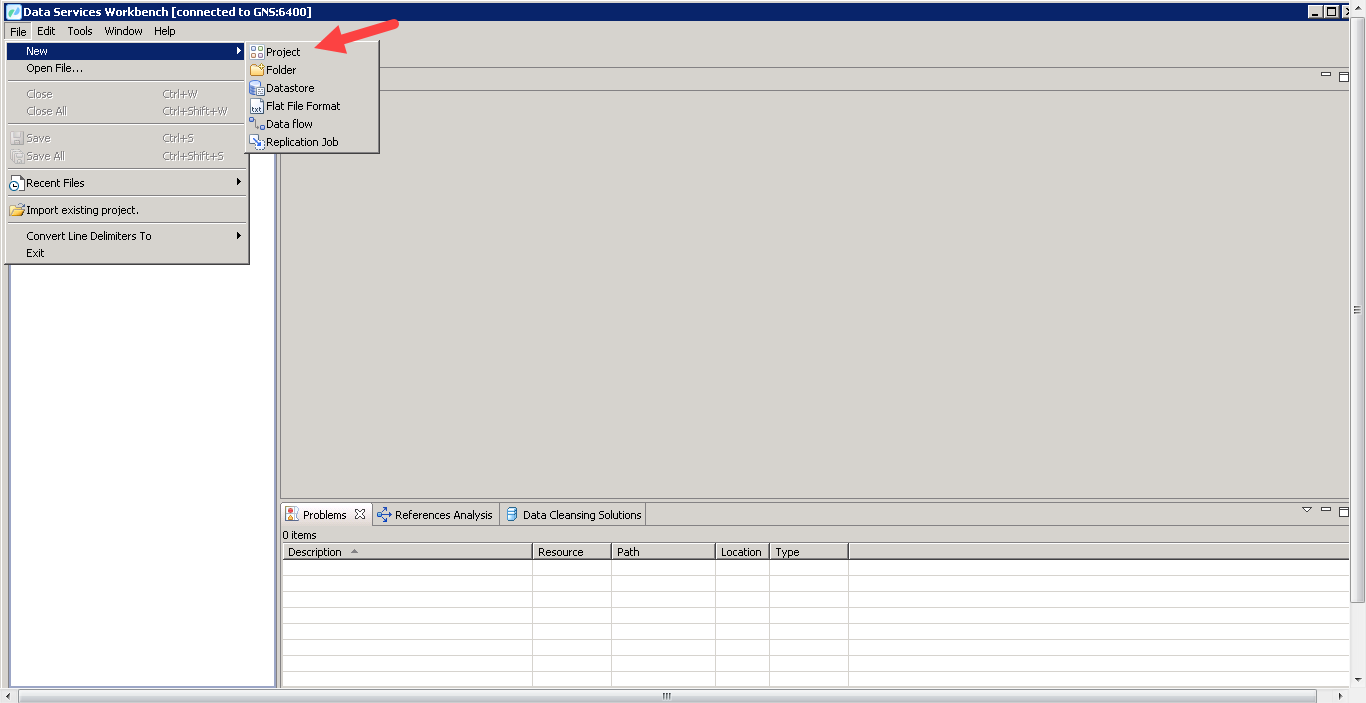
- Go to Data Services Workbench.

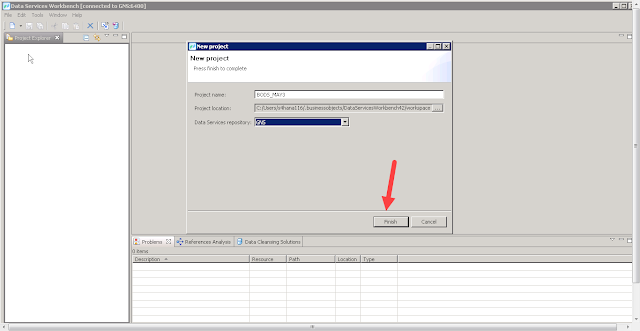
- In order to create a project: File -> New -> Click on Project.
- Enter Project name and select the Data Services Repository.
- Click on Finish.
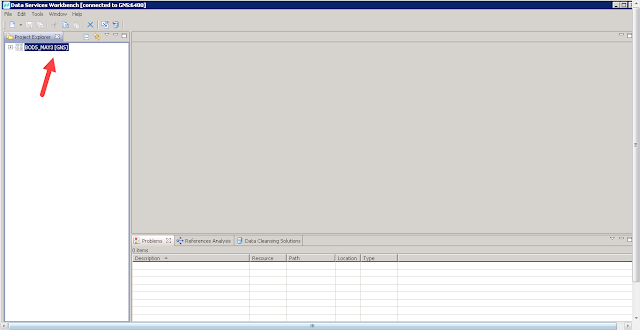
- Now, we can view the project that we have created.
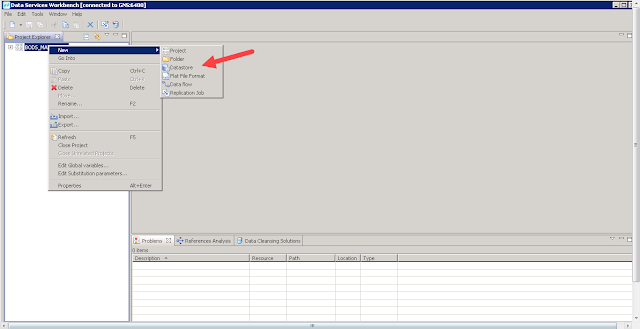
- In order to create Data Store: Right click on Project -> new -> select Data Store.
- Provide name and click on next.

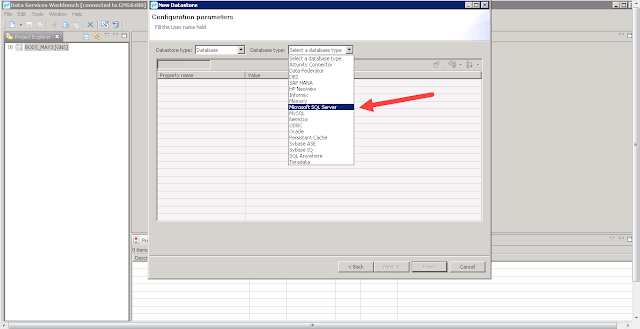
- Select Data store type as :- Database.
- Select Database Type as :- Microsoft SQL server.
- Enter Database name , User Name and Password.
- Click on test connection.
- Pop-up appear "Connection test succeeded ".
- Click on close.
- In order to create a data store in HANA: Click on Project -> New -> Select Data Store.
- Provide the name and description and click on next
- Provide the credentials and click on finish.
- Click on Tables -> click on “Import object by name” icon.
- Provide the Table name( MSSQL) and click on finish.
- Right click on object and click on view data .
- There is no data in imported table.
- We view the fields in the table.
- Right click on Project -> New -> Select Data Flow.
- Enter the Data flow and Description.
- Click on finish.
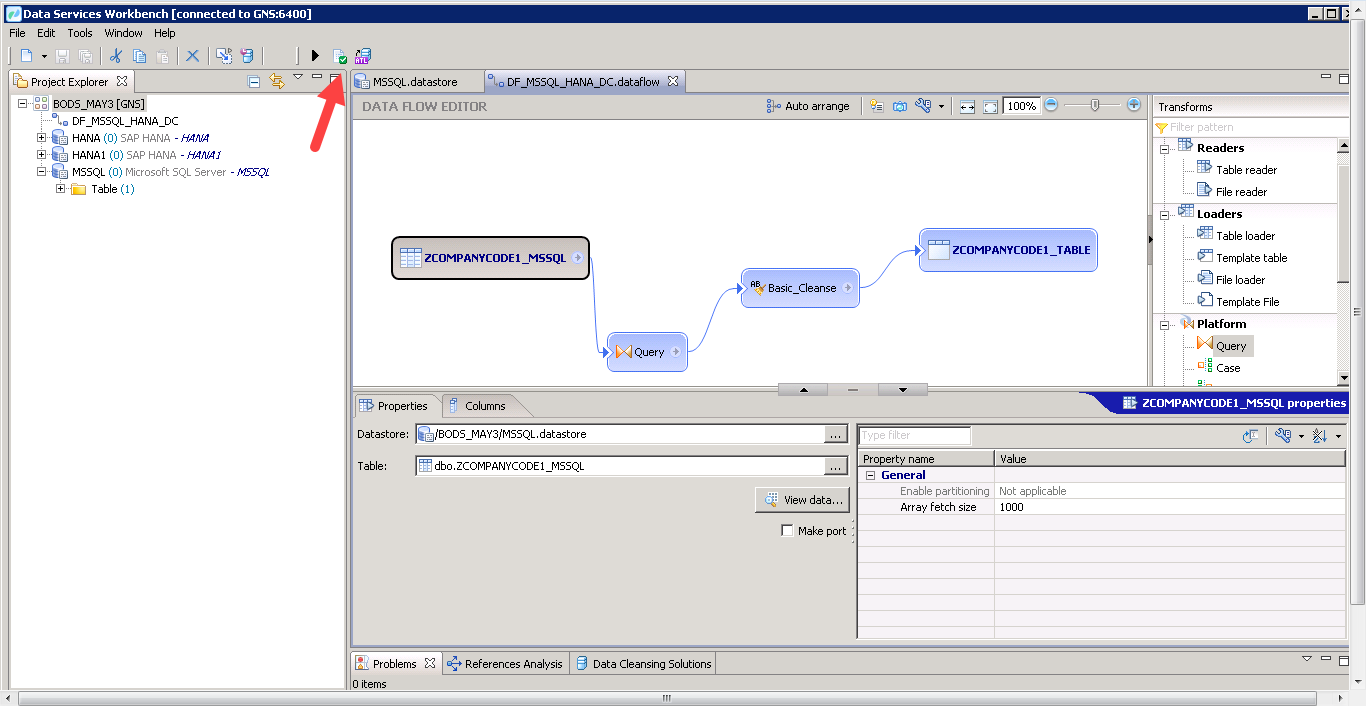
- Import the table as Source onto the Data Flow editor.
- Drag and drop Basic Cleanse onto the data flow editor.
- Drag and drop Template Table onto the Data Flow editor.
- Provide the Table Owner Name and Table Name.
- Click on OK.
- Drag and drop the Query Transform onto the data flow editor.
- Join the links between the tables as shown below


No comments:
Post a Comment