Steps :-
- Tab Delimited Flat file looks like.

- Go to Transaction Code LSMW.

- Enter the Project , Sub-project , object name and click on Create.

- Enter the short description of Project and click on Continue.

- Enter the short description of Sub project and click on Continue.

- Enter the short description of Object and click on Continue.

- Click on Execute.

Step 1 :- Maintain Object Attributes
- Automatically it selects Radio Button " Maintain Object Attributes ".
- Click on Execute.

- Click on Edit .

- Click on Goto -> " Recording Overview ".

- Click on Create.

- Pop-up will appear.
- Enter the recording name , short description and click on Continue,

- Pop-up will appear.
- Enter the Transaction Code and click on Continue.

- Enter the required field value and click on Enter.

- Select the View and click on Continue.

- Enter the required fields value .

- Click on Save.

- Click on "Default All ".

- Default All technical field name will pull-ups.

- Click on Save and click on Back.

- Click on Back.

- Click on " Batch Input Recording " Radio button and click on F4 help.

- Automatically Recording name will pulls up.

- Click on Back button.
- Click on Save and Back Button.

Step 2 :- Maintain Source Structure.
- System automatically selects " Maintain Source Structure " radio button or else select it and click on Execute.

- Click on Edit.

- Click on "Create a structure " Button,

- Enter the structure name and short description .
- Click on Continue.

- Click on Save and click Back button.

Step 3 :- Maintain Source Fields.
- System automatically selects " Maintain Source Fields " radio button or else select it and click on Execute.

- Click on Edit.

- Place the cursor on Structure and click on " Table Maintenance ".

- Enter the field name , Data type always Character and length.
- Press Enter.

- Click on Save and click on Back Button.

- Click on Save and click on Back button.
Step 4 :- Maintain Structure Relations.
- System automatically selects " Maintain Structure Relations " radio button or else select it and click on Execute.

- Click on Edit.

- Click on Save and click on Back.
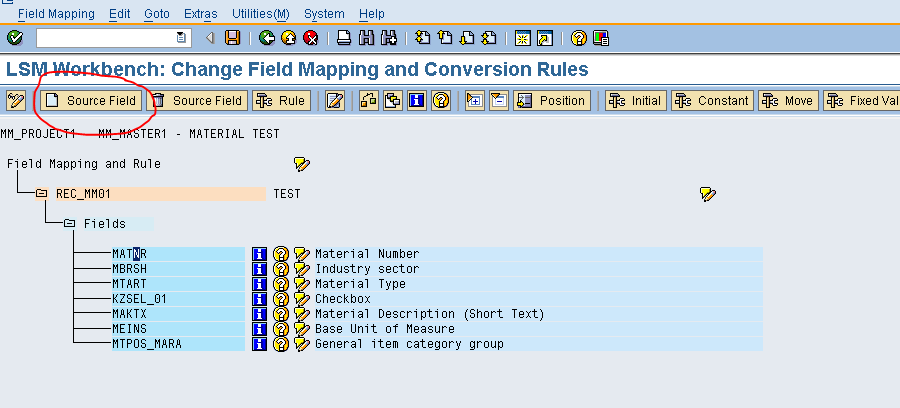
Step 5 :- Maintain Field Mapping and Conversion Rules.
- System automatically selects " Maintain Field Mapping and Conversion Rules " radio button or else select it and click on Execute.

- Click on Edit.

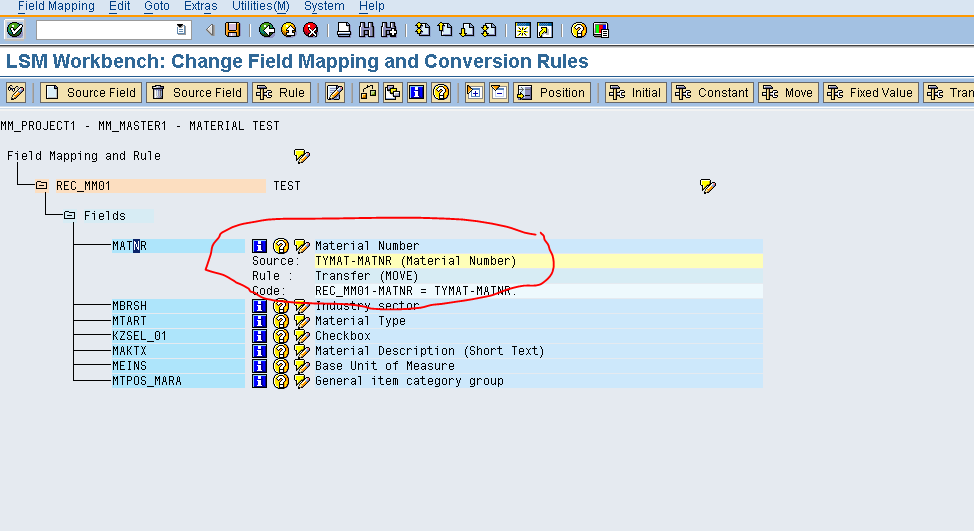
- To assign source field : - Place the Cursor on MATNR and Click on Source Field.
- Pop-up will appear.
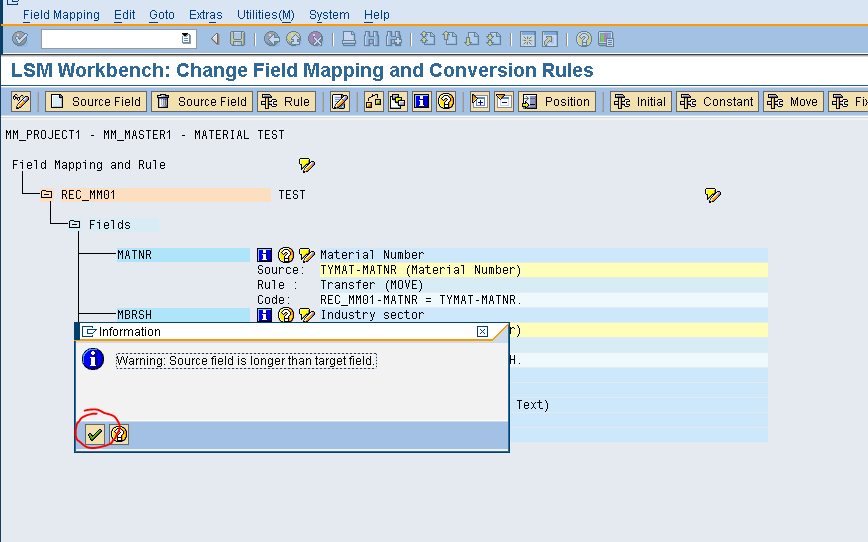
- Select the source field i.e MATNR.
- Double click on it.

- Looks like,
- Similarly , Place the cursor on MBRSH and Click on Source Field.

- Pop-up will appear.
- Double click on MBRSH.

- Looks like,

- Similarly , Place the cursor on MTART and click on Source Field.

- Pop-up will appear.
- Double click on MTART.

- Pop-up will appear.
- Click on Continue.
- Looks like,

- To assign constant value to the KZSEL_01
- Place the cursor on KZSEL_01 and click on Constant.

- Pop-up will appear.
- Enter the Value as "X" and click on Continue.

- Looks like,

- Similarly , Place the cursor on MAKTX and click on Source Field.

- Pop-up will appear.
- Double click on MAKTX.

- Looks like,

- Similarly , Place the cursor on MEINS and click on Source Field.

- Pop-up will appear.
- Double click on MEINS.

- Pop-up will appear.
- Click on Continue.

- Looks like,

- Click on SAVE and click on Back button.
Step 6 :- Maintain Fixed Values, Translations, User-Defined Routines.
- Automatically it selects Radio Button " Maintain Fixed Values, Translations, User-Defined Routines".
- Click on Execute.

- Click on Back Button.

Step 7 :- Specify Files.
- Click on Specify Files radio button and click on Execute.

- Click on Edit.

- Double click on " Legacy Data on Front end ".

- Click on File F4 help.

- Select the Source File.
- Enter the name.

- Select the required fields and click on Continue.

- Click on Save and click on Back.

- Select the Assign Files radio button and click on Execute.

- Click on Edit.

- Click on Save and click on Back button.

- Select the Radio button and click on Execute.

- Click on Execute.

- Looks like,

- Click on Back .

- Click on Back.
- Click on Display Read data Radio button and click on Execute.

- Pop-up will appear.
- Click on Continue.

- Looks like ,

- Click on Back.
Step 11 :- Convert Data.
- Select Convert Data Radio button and click on Execute.

- Click on Execute.

- Looks like,

- Twice click on Back.
Step 12 :- Display Convert Data.
- Click on Display converted data and click on Execute.

- Pop-up will appear,
- Click on Continue.

- Looks like,

- To cross check , double click on any record.

- Twice click on Back button.
Step 13 :- Create Batch Input Session.
- Click on Create Batch Input Session Radio button and click on Execute.

- Check the Keep Batch Input folder and click on Execute.

- Pop-up will appear.
- Click on Continue.

Step 14 :- Run Batch Input Session.
- Select the "Run Batch Input Session " radio button and click on Execute.

- Select the Session name and click on Process.

- Select the Processing Mode and Click on Process.

- Keep on pressing OK_Code till all records are created.

- At the end pop-up will appear.

- Click on Session Overview.

- Successfully all the records are created.
Cross-Check
- Go to Transaction Code SE11.

- Enter the Table name MARA and click on Display.

- Click on Contents.

- Enter the Flat file material number and click on Execute.

Output
- Records are created successfully.

No comments:
Post a Comment