Implementing Date Generation using Data Services
Date_Generation:
- Date Generation Transformation is used to produces a series of dates incremented that you specify in a separate column. This transform generates a column which holds the date values based on the start & end dates provided as an input to the transform by considering the increment provided to it.
- When we use: To create Time Dimension fields and Table.
- Prerequisite: Before implementing Date_Generation transform, please find below the input & output values of Date_Generation transform.
Options for input data:
- Start date: Provide a start date value in the format yyyy.mm.dd. It also accepts variables; instead of passing static values one can pass values through variables.
- End date: Provide an end date value in the format yyyy.mm.dd. It also accepts variables; instead of passing static values one can pass values through variables.
- Increment: User can specify date intervals between start date and end date. Date can be incremented daily, weekly or monthly.
- Join rank: While constructing the joins, sources will be joined based on their ranks.
- Cache: The data set will be cached in the memory to be used in later transform.
Output data from Date Generation transform:
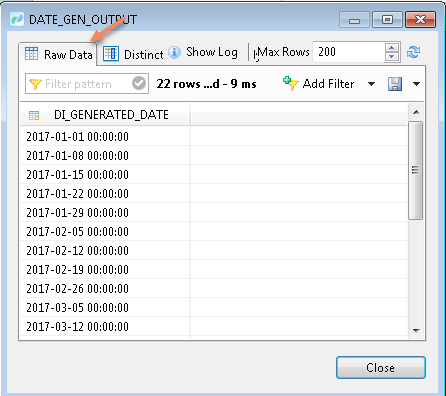
- The return type of this transform is a data set with a single column named DI_GENERATED_DATE containing the date sequence.
Steps :-
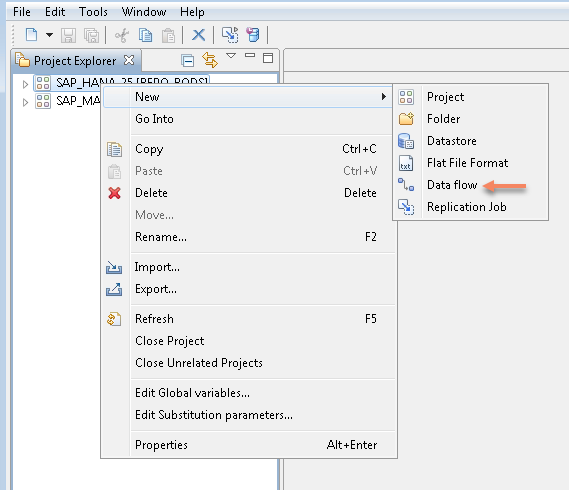
- Right click on Project -> New -> Data Flow.
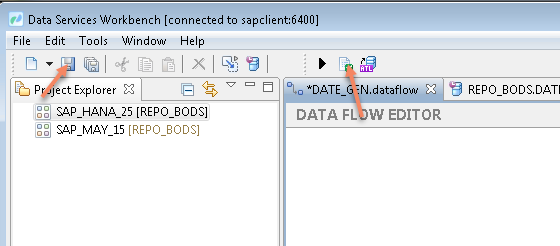
- Provide Name and Description.
- Drag and drop Date Generation to the Data Flow Editor.
- Drag and drop Template Table to the Data Flow Editor.
- Click on show list of values.
- Select Target System and click on Finish.
- Enter the Table owner name and Table Name.
- Click on OK.
- Join Date Generation to Template Table.
- Select Increment as daily.
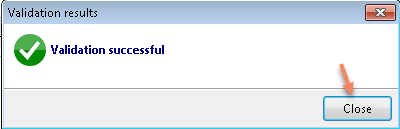
- Pop-up will appear "Validation results successful".
- Click on Close.
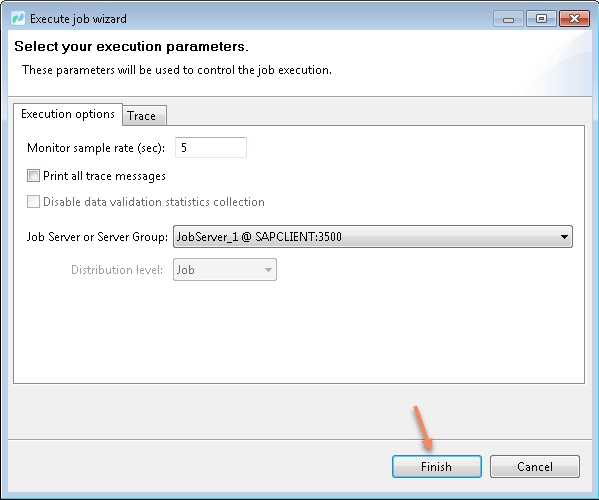
- Select the Job Server and click on Finish.
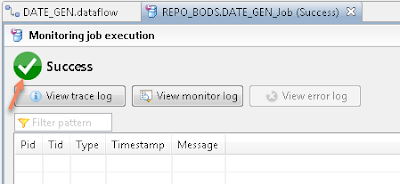
- Job execution is success.
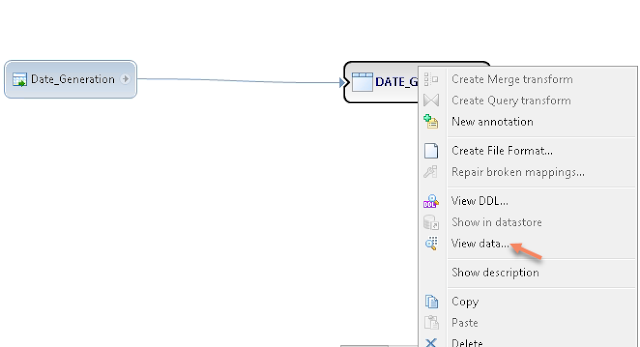
- Right click on Template table -> Click view data.
- Go to SAP-HANA Studio.
- Right click on Tables and click on Filters.
- Enter Table Name and click on OK.
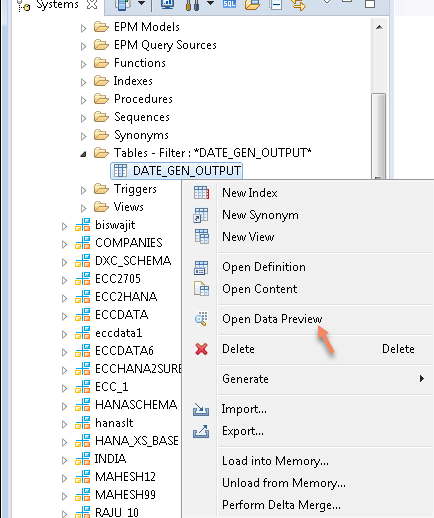
- Right click on Table and click on Open Data Preview.
- Go to workbench and select Increment as
weekly.
- Pop-up will appear "Validation results successful".
- Click on Close.
- Select the Job Server and click on Finish.
- Job Execution is success.
- Right click on Template Table -> click View data.

- Go to SAP-HANA Studio.
- See Raw data for weekly increment.
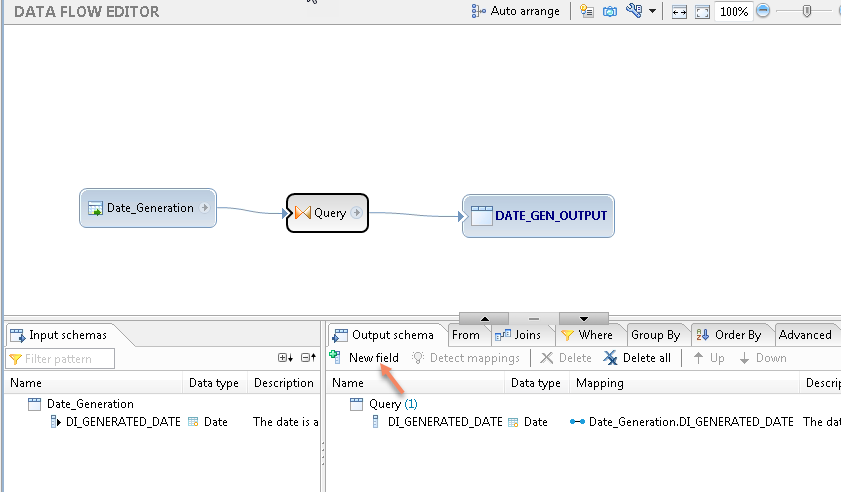
- Now Insert Query Transform between Date Generation and Template Table to add new fields.
- Select Year and Click on Edit .
- Click Date -> select year.
- Click on show list of values.
- Select column and click on OK.
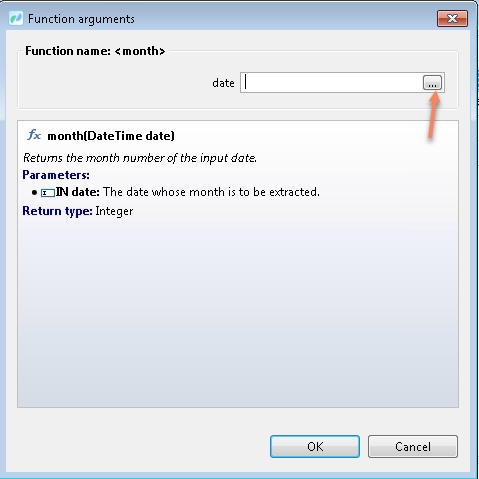
- Click on month -> click on Edit.
- Click on Date -> Click on month.
- Click on show list of values.
- Select a column -> Click on OK.
- Select increment as daily.
- Click on SAVE -> Click on Validate.
- Select the Job Server and click on Finish.
- Pop-up will appear "Job execution is successful".
- Click on Close.
- Go to SAP-HANA Studio and click on refresh.
- Go to Data Services Workbench .
- Click on new field.
- Add quarter to the output.
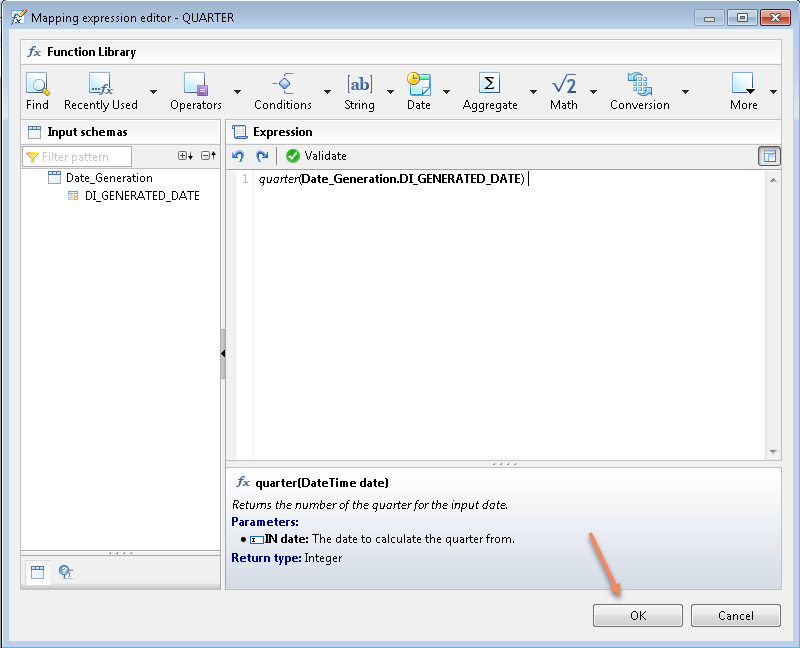
- Select Quarter field and click on Edit.
- Click on date down arrow -> click on Quarter.
- Click on show list of values.
- Select column and Click on OK.
- Click on SAVE , validate and execute.
- Select the Job Server and click on Finish.
- Job execution is success.
- Go to SAP-HANA Studio.
- Click on Refresh.


linux online course
ReplyDeleteetl testing online course
web methods online course
business analyst training