Implementing Row Generation Transform
- The Row Generation transform does nothing else than generating one row after the other with one INTEGER column only.
- Row Generation transform produces a data set with a single column. The column values start with the number that we specify in the Row number starts at option.
- The value then increments by one to specified number of rows as set in the Row count option. This transform does not allow any input data set.
Prerequisite:
- Following setting is required to be done at the Row-Generation transform level, options available under Row Generation transform:
- Row number starts at: An integer with which row numbering starts. If you set this option to 1, the first row will be labeled 1; the second row will be labeled 2, and so on. If you leave this blank, numbering will start at zero (0). For added flexibility, you can enter a global variable or substitution parameter.
- Row count: A positive integer indicating the number of rows in the output data set. For added flexibility, you can enter a global variable or substitution parameter.
- Join rank: A positive integer indicating the weight of the output data set if the data set is used in a join. Sources in the join are accessed in order based on their join ranks. The highest ranked source is accessed first to construct the join.
- Cache: Select this check box to hold the output from the transform in memory to be used in subsequent transforms. Select Cache only if the resulting data set is small enough to fit in memory.
Steps :-
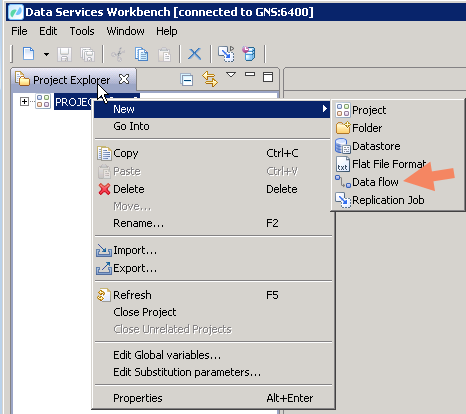
- Right click on Project -> New -> select Data Flow.
- Provide Name and Description.
- Click on finish.
- Drag and drop Row Generation Transform onto the Data Flow editor
- We can give details in properties tab according to our requirements.
- Drag and drop Query Transform onto the Data Flow editor.
- Link a join between Row Generation and Query Transform.
- Click on query transform and drag and drop the input schema onto the query transform.
- Drag and drop Template Table onto the data flow editor.
- Click on show list values icon -> select HANA Data store.
- click on OK.
- Provide Table owner name and Table name.
- Click on OK.
- Link a join between Query Transform and Template Table.
- Click on Template Table .
- Pop-up will appear " Validation successful".
- Click on Close.
- Select the Job Server.
- Click Finish.
- Click on view monitor log.
- Go to HANA studio
- Right click on Catalog -> Click on refresh.
- Right click on catalog -> click on find table.
- Select the required table and click on OK.
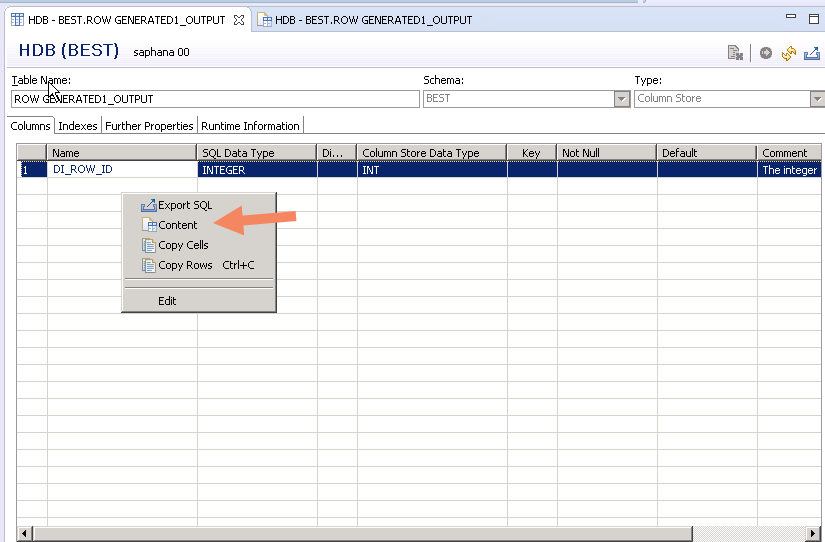
- Right click on table and select content.
- Now, we can view the output data.


No comments:
Post a Comment